


Ways to Contact Sony Customer Support for Free
How do I call Sony for free? Sony is one of the leading manufacturers of gaming consoles worldwide, including the popular PlayStation series. With …
Read Article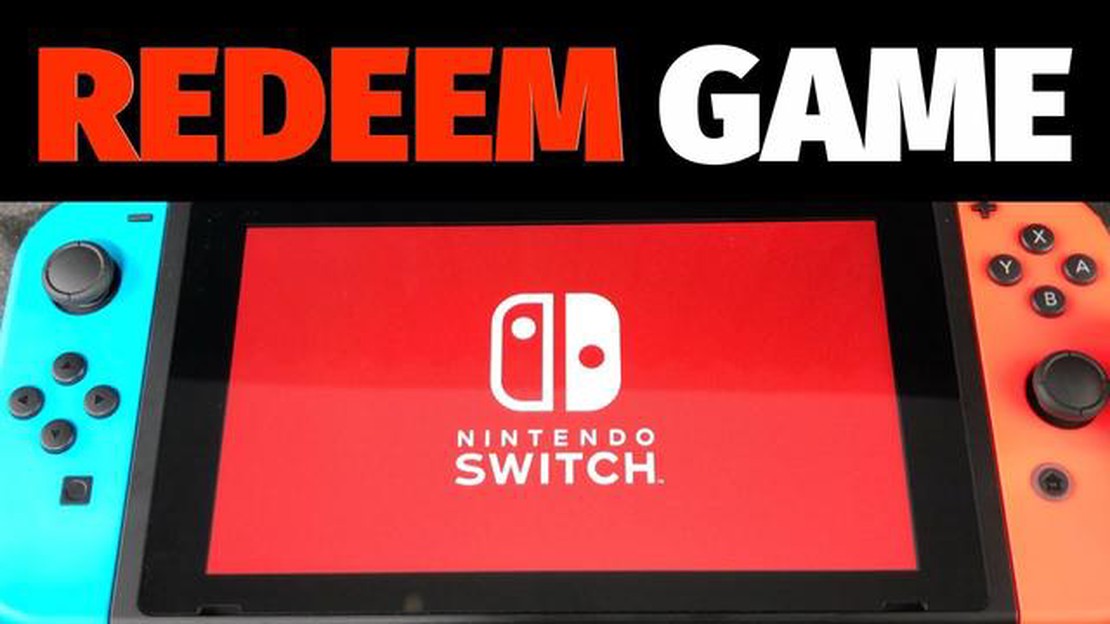
Nintendo Switch is a popular gaming console that offers a wide range of games for players to enjoy. One of the features of the Nintendo Switch is the ability to input codes to access additional content, such as downloadable content or in-game items. This code input process can sometimes be confusing for new users, but with this step-by-step guide, Nintendo Switch users can easily navigate the code input process and unlock new content for their games.
Firstly, it is important to note that the code input process for the Nintendo Switch varies depending on the game or content you are trying to access. Some games may have in-game code input options, while others may require you to access the Nintendo eShop or a specific website to redeem codes. Before starting the code input process, make sure you have the correct code and know where to enter it.
Once you have the code, the next step is to navigate to the code input section. This can usually be found in the game’s main menu or in the settings/options menu. Look for an option that says “Code Input” or “Redeem Code” and select it. If you are redeeming a code through the Nintendo eShop, open the eShop and look for a similar option.
After selecting the code input option, you will be prompted to enter your code. Use the on-screen keyboard to input each character of the code. It is important to enter the code correctly, as one wrong character can invalidate the entire code. Take your time and double-check your input before proceeding.
Once you have entered the code, select “Confirm” or a similar option to submit the code. If the code is valid, you will receive a confirmation message and the additional content will be added to your game. If the code is invalid or has already been redeemed, you will be notified and may need to check the code again for any errors.
In conclusion, the code input process for Nintendo Switch provides a way for users to access additional content for their games. By following this step-by-step guide, users can easily navigate the code input process and unlock new content to enhance their gaming experience on the Nintendo Switch.
Welcome to the step-by-step guide for Nintendo Switch users! Whether you just got your Nintendo Switch or you’ve been using it for a while now, this guide will provide you with helpful tips and instructions to enhance your gaming experience.
1. Setting up your Nintendo Switch:
First things first, let’s set up your Nintendo Switch. Start by connecting the docking station to your TV or monitor using an HDMI cable. Then, slide your Nintendo Switch console into the docking station. Make sure it is securely connected and that the HDMI input on your TV or monitor is selected. You’re now ready to start gaming on the big screen!
2. Exploring the user interface:
Once your Nintendo Switch is set up, you’ll be greeted by the user interface. Navigate through the various icons and menus using the Joy-Con controllers. Press the home button to access the main menu and customize your settings. You can also create multiple user profiles to keep track of individual progress and preferences.
3. Connecting to the internet:
To fully enjoy the online features and multiplayer capabilities of the Nintendo Switch, you’ll need to connect it to the internet. From the main menu, select “System Settings” and then “Internet.” Choose your Wi-Fi network and enter the password to establish a connection. Once connected, you’ll be able to access the Nintendo eShop, play online games, and download updates.
4. Playing games:
Now it’s time to dive into the world of gaming on your Nintendo Switch. Insert a game cartridge into the console or download games from the Nintendo eShop. Use the Joy-Con controllers to navigate in-game menus and control your character. Don’t forget to take advantage of the different play styles, such as handheld mode, tabletop mode, and TV mode, depending on your preference and situation.
5. Exploring additional features:
The Nintendo Switch offers a variety of additional features to enhance your gaming experience. Experiment with the different controller configurations, such as attaching the Joy-Con controllers to the Joy-Con grip or playing with a Pro Controller. You can also capture and share screenshots and videos of your gameplay. Make sure to check out the Nintendo Switch Online service for even more benefits and features.
In conclusion, this step-by-step guide provides you with the necessary instructions to get started and make the most out of your Nintendo Switch. Take your time to explore the user interface, connect to the internet, and enjoy playing a wide range of games. Happy gaming!
Setting up your Nintendo Switch console is the first step to start enjoying the world of gaming on the go. Follow these steps to get your console up and running in no time:
Step 1: Unboxing
Start by unboxing your Nintendo Switch console. Carefully remove all the items from the box, including the console itself, the Joy-Con controllers, the dock, the AC adapter, and any additional accessories.
Step 2: Connecting the Dock
Connect the dock to your TV using the provided HDMI cable. Make sure the dock is properly positioned and secure.
Step 3: Attaching the Joy-Con Controllers
Attach the Joy-Con controllers to the sides of the console. Slide them in until you hear a click to ensure they are securely attached.
Step 4: Charging the Console
Connect the AC adapter to the console and plug it into a power outlet. Let the console charge for a few hours until the battery is fully charged.
Read Also: Is Street Drifting Illegal? Know the Legal Consequences
Step 5: Setting up Wi-Fi
On the console’s home screen, select “System Settings” and navigate to the “Internet” section. Choose your Wi-Fi network and enter the password to connect your console to the internet.
Read Also: Why Does the 3 Tails Have 1 Eye?
Step 6: Creating a User Account
Follow the on-screen instructions to create a user account for your Nintendo Switch console. This will allow you to access the Nintendo eShop and online features.
Step 7: Updating the Console
Check for any available system updates and download them to ensure your console has the latest features and security enhancements.
Step 8: Adding Games
Insert game cartridges into the console or download games from the Nintendo eShop. Follow the on-screen instructions to install and play your favorite games.
Step 9: Customizing Settings
Explore the system settings to customize your console to your preferences. Adjust display and sound settings, customize your user profile, and set parental controls if needed.
Step 10: Enjoying Your Nintendo Switch
Your Nintendo Switch console is now set up and ready to use. Enjoy playing games on your TV or take the console on the go for portable gaming fun.
Connecting your Nintendo Switch to the internet allows you to access a variety of online features and content. Follow these steps to connect your console to the internet:
If your Nintendo Switch fails to connect to the internet, try the following troubleshooting steps:
Once your Nintendo Switch is connected to the internet, you can enjoy online multiplayer gaming, download software and updates from the Nintendo eShop, and access a variety of online services and features. Keep in mind that some online features may require a Nintendo Switch Online subscription.
Keeping your Nintendo Switch software up to date is essential to ensure you have access to the latest features and improvements. Regular software updates provide bug fixes, stability enhancements, and new functionality for your console. Here is a step-by-step guide on how to update your Nintendo Switch software:
It is recommended to keep your Nintendo Switch software updated regularly to ensure optimal performance and access to new features. By following these simple steps, you can easily update your Nintendo Switch software and stay up to date with the latest enhancements.
One of the great features of the Nintendo Switch is the ability to have multiple user profiles on a single console. This allows different members of your household to have their own personalized gaming experience, complete with their own game progress, save data, and settings.
To add a new user profile to your Nintendo Switch, simply navigate to the System Settings menu and select “Users.” From there, choose the “Add User” option and follow the on-screen prompts to create a new profile. You can enter a nickname, select an avatar, and even link a Nintendo Account to the profile if desired.
Once you have multiple user profiles on your Nintendo Switch, you can easily switch between them by selecting the user icon on the home screen. This makes it convenient for each person to access their own games and settings without interfering with others’ progress.
Managing user profiles is also a breeze on the Nintendo Switch. If you wish to delete a profile, simply go to the System Settings menu, select “Users,” and choose the profile you want to delete. From there, select “Delete User” and confirm your choice. Be aware that deleting a user profile will also delete all associated game progress and save data, so make sure to back up any important information before proceeding.
If you want to restrict access to certain features or content for specific user profiles, the Nintendo Switch offers parental controls. With these controls, you can set limits on playtime, restrict access to certain games or apps based on age ratings, and even block online communication features. This allows you to ensure a safe and age-appropriate gaming experience for children or other users.
In conclusion, the Nintendo Switch provides a user-friendly interface for adding and managing user profiles. With the ability to create personalized profiles, switch between them easily, and set parental controls, the console offers a versatile gaming experience for every member of your household.
Having trouble with your Nintendo Switch? Don’t worry, many common issues can be easily resolved with a few simple steps. Here are some troubleshooting tips to help you get your console back up and running:
If you’re still experiencing issues with your Nintendo Switch after trying these troubleshooting steps, it’s recommended to contact Nintendo’s customer support for additional assistance. They can provide further guidance and help resolve any persistent problems you may be encountering.
Yes, you have different options for code input on your Nintendo Switch. You can use the touchscreen, a connected controller, or the on-screen keyboard.
There is no specific code input method that is recommended for the Nintendo Switch. It ultimately depends on your personal preference and what feels most comfortable for you.
No, the Nintendo Switch does not have native support for physical keyboards. You will need to use the touchscreen or a connected controller to input codes.
How do I call Sony for free? Sony is one of the leading manufacturers of gaming consoles worldwide, including the popular PlayStation series. With …
Read Article
What is the meaning of the abbreviation FE in Samsung devices? Samsung FE is a term that has gained popularity in the gaming community, especially …
Read Article
How do you get full Pokedex in Emerald? Pokemon Emerald is an incredibly popular video game in the Pokemon franchise, known for its expansive world …
Read Article
What is the best for honor faction? For Honor is a highly popular multiplayer game that brings together historical warriors from different factions to …
Read Article
How do you explore the bottom of the well in Genshin impact? Genshin Impact is a popular open-world action role-playing game developed by miHoYo. The …
Read Article
What does potential do in 2k? In the world of sports video games, NBA 2K has become one of the most popular and realistic simulations of professional …
Read Article


