


Is MHW Iceborne Worth the Upgrade? A Comprehensive Review
Is MHW Iceborne worth it? Monster Hunter World: Iceborne is the highly anticipated expansion to the critically acclaimed Monster Hunter World game. …
Read Article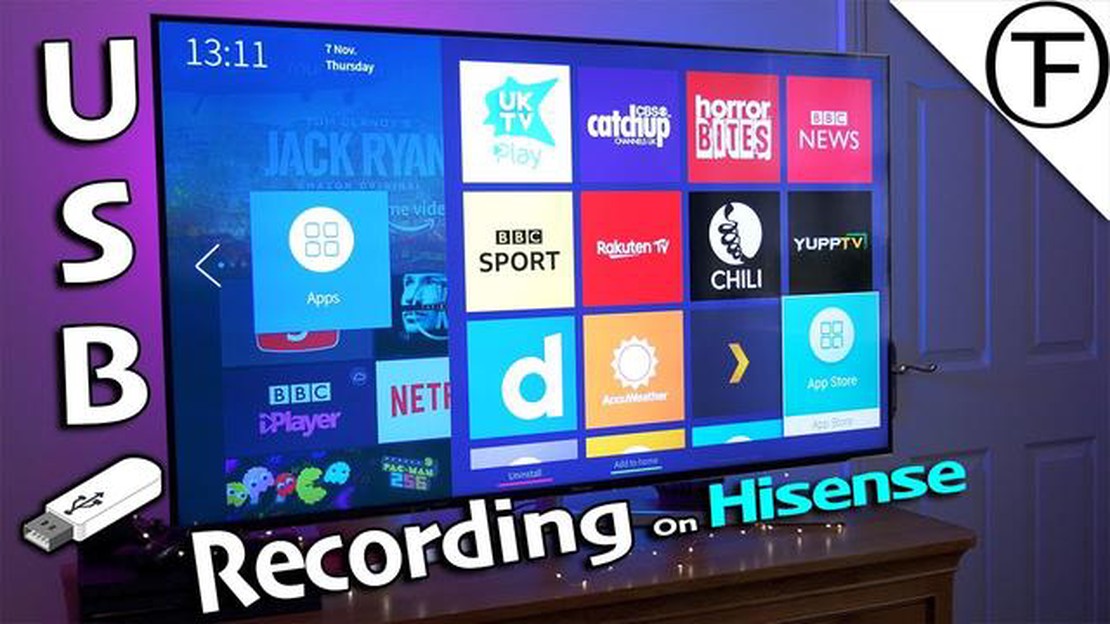
If you own a gaming console, chances are it comes with a built-in PVR (Personal Video Recorder) function. This powerful feature allows you to capture and record your gameplay, so you can relive your favorite moments or share them with your friends. In this step-by-step tutorial, we will walk you through the process of using the PVR function on your console, providing you with all the information you need to get started.
First, you’ll need to access the PVR function on your console. This can usually be done by navigating through the settings menu or using a dedicated PVR button on your controller. Once you’ve located the PVR function, you’ll need to select it to open the recording options.
Next, you’ll want to adjust the recording settings to fit your preferences. This may include choosing the quality of the recording, selecting the length of the recording, or configuring audio options. It’s important to take the time to explore these settings and find the optimal configuration for your needs.
Once you have customized the recording settings, you’re ready to start capturing your gameplay. Simply begin playing the game you want to record, and when you’re ready to start recording, press the designated PVR button or access the recording options menu. Depending on your console, you may have the option to record the entire gameplay session or only a specific portion of it.
While recording, it’s important to keep an eye on your available storage space. HD recordings can take up a significant amount of space, so it’s a good idea to periodically check and delete any unnecessary recordings to free up space for new captures. Additionally, be mindful of any recording limitations imposed by your console, such as maximum recording time or file size restrictions.
Once you’re finished recording, you can access your captured gameplay footage through the PVR function on your console. From there, you can view, edit, and share your recordings with ease. Whether you want to relive your epic gaming moments or create content for your own YouTube channel, the PVR function is a valuable tool for gamers of all levels.
Just a few simple steps, and you’ll be well on your way to becoming a master of the PVR function on your gaming console. So grab your controller, follow this tutorial, and start capturing your gaming adventures today!
The PVR function on consoles provides several benefits that enhance the overall gaming experience:
In conclusion, the PVR function on consoles offers numerous benefits that enhance the gaming experience, from convenience and sharing capabilities to learning opportunities and creative expression. It has become an essential tool for both casual and professional gamers alike, revolutionizing the way gaming moments are captured, shared, and enjoyed.
The PVR (Personal Video Recorder) function is a powerful feature available on many consoles, allowing you to record and store gameplay footage directly on your console’s hard drive or external storage device. Understanding this function is essential for getting the most out of your console and capturing your gaming moments.
With the PVR function, you can easily capture and save your gameplay to review later, share with friends, or even create game highlight reels for online platforms. This function is especially useful for content creators and gamers who want to showcase their skills and experiences.
To use the PVR function, you first need to ensure that your console is equipped with a built-in PVR feature or that you have a compatible external capture device connected to your console. Once you have the necessary hardware, you can start utilizing the PVR function.
One key aspect of understanding the PVR function is knowing the recording options available to you. Most consoles offer various recording settings, such as recording resolution, frame rates, and audio options. It’s important to experiment with these settings to find the optimal combination for your needs.
Additionally, understanding the storage limitations of your console is crucial. PVR recordings can take up a significant amount of storage space, so it’s essential to regularly manage and delete old recordings to free up space for new ones. Some consoles also allow you to transfer recordings to external storage devices to save space on your console’s internal storage.
Overall, comprehending the PVR function is the first step towards utilizing this powerful feature effectively. By familiarizing yourself with the capabilities of your console’s PVR function, exploring recording options, and managing storage, you can make the most of this feature and capture your gaming moments with ease.
Once you have successfully installed and updated the software for your console, it’s time to set up the PVR (Personal Video Recorder) function. This feature allows you to record your favorite gaming moments and share them with friends or save them for later viewing. Follow these steps to get started:
By following these steps, you will be able to set up the PVR function on your console and start recording your gaming adventures. Remember to regularly check the available storage space on your console to ensure you have enough room for recordings, and consider transferring them to another storage device if necessary.
Now that you have set up the PVR function on your console, you can start recording your gameplay. Here is a step-by-step guide on how to do it:
Read Also: Is Madden free on PS4?
After you have finished recording, you can access your recorded gameplay in the PVR menu. From there, you can view, edit, or share your recordings with friends or on social media platforms.
Remember to free up space on your console’s storage regularly, as recorded gameplay videos can take up a significant amount of space. You can delete unwanted recordings to make room for new ones.
By utilizing the PVR function on your console, you can easily capture and share your best gaming moments with others. Whether you want to showcase your gaming skills or create content for streaming platforms, the PVR function is a valuable tool for any gamer.
Once you have successfully recorded your gameplay, you may want to edit and share your recordings to enhance the viewing experience and show off your gaming skills. Here are some steps to help you with this process.
Read Also: Who should I give harbinger of dawn to?3. Upload to gaming communities: Apart from social media, there are dedicated gaming communities and forums where you can share your recordings. These platforms are a great way to connect with fellow gamers who share similar interests and receive feedback on your gameplay. 4. Create highlight reels: If you have multiple recordings, consider creating highlight reels to showcase your best moments. You can use video editing software on your computer or the built-in console tools to compile your best clips into a single video. 5. Consider streaming: If you want to share your gameplay in real-time and interact with your audience, consider streaming your recordings on platforms like Twitch or YouTube Live. This allows viewers to watch your gameplay as it happens and enables you to engage with them through live chat.
Remember to always respect copyright laws when sharing your recordings and give credit to any audio or visual content that is not your own. Enjoy editing and sharing your recordings to show off your gaming skills and connect with other gamers!
Once you have successfully set up your PVR function on your console, there are a few tips and tricks that can help you make the most out of this feature. Here are some valuable insights to enhance your PVR experience:
1. Customize Your Recording Settings: Take advantage of the customization options available in your console’s PVR settings. You can specify the quality of the recordings, adjust the recording duration, and even set up schedules for automatic recording.
2. Use Quick Record Feature: Most consoles have a quick record feature that allows you to start recording gameplay instantly with a simple press of a button. Familiarize yourself with this feature to capture those spontaneous and epic gaming moments without any delay.
3. Manage Storage Space: Regularly check and manage your storage space to ensure you have enough room for new recordings. Consider deleting or transferring old recordings to an external storage device to free up space.
4. Add Tags and Descriptions: To organize your recorded gameplay, consider adding tags or descriptions to each recording. This will make it easier to search and locate specific recordings when needed.
5. Share Your Recordings: Show off your gaming skills and experiences by sharing your recordings with friends and fellow gamers. Most consoles offer options to upload your recordings to social media platforms or dedicated gaming communities.
6. Explore Editing Tools: Some consoles provide basic editing tools to enhance your recordings. Take some time to explore these features, such as trimming, adding effects, or overlaying commentary, to create professional-looking videos.
7. Keep Your Console Updated: Regularly update your console’s firmware and software to ensure you have the latest features and improvements for your PVR function. Check for system updates and install them to optimize your recording experience.
8. Seek Online Tutorials: For more advanced techniques and strategies for using the PVR function, consider watching online tutorials or reading guides specific to your console. You may discover new tricks or features that you were unaware of.
By following these tips and tricks, you can maximize the PVR function on your console, capturing and sharing your gaming highlights with ease. Experiment with different settings and features to find the best recording setup that suits your preferences and style.
Yes, most PVRs have the capability to record multiple shows at once. However, this may depend on the specific model and features of your PVR. It is recommended to check the user manual or contact the manufacturer for more information.
To access the PVR function on your television, you will typically need to press the “Menu” or “Settings” button on your remote control. From there, navigate to the “Recordings” or “PVR” option and select it. You should then be able to access the PVR functions such as recording and playback.
Yes, most PVRs allow you to schedule recordings in advance. To do this, you will need to select the show or program you want to record from the TV guide or schedule menu. From there, you can choose the date, time, and duration of the recording. Make sure to confirm the settings and your PVR will automatically record the show at the specified time.
The amount of recording time available on a PVR depends on the storage capacity of the device. PVRs typically have different storage options available, ranging from a few hours to hundreds of hours of recording time. It is recommended to check the product specifications or manual to determine the exact amount of recording time your PVR can provide.
Yes, most PVRs allow you to watch a recorded show while the device is simultaneously recording another show. This is one of the advantages of having a PVR, as it gives you the flexibility to watch what you want even while recording other programs.
PVRs typically use digital video formats such as MPEG-2 or MPEG-4 to record shows. These formats provide high-quality video and audio while also compressing the data to save storage space. Some PVRs may also support other formats like AVI or MKV, but this can vary depending on the device.
The length of time you can keep recorded shows on your PVR depends on the storage capacity of the device and the number of shows you have recorded. Once the storage is full, you will need to delete old recordings to make space for new ones. It is recommended to regularly manage your recorded shows and delete any that you no longer need to ensure you always have enough space for new recordings.
Is MHW Iceborne worth it? Monster Hunter World: Iceborne is the highly anticipated expansion to the critically acclaimed Monster Hunter World game. …
Read Article
How do you cheat in prison architect? Prison Architect is a popular simulation game that lets you design and manage your own prison. With its complex …
Read Article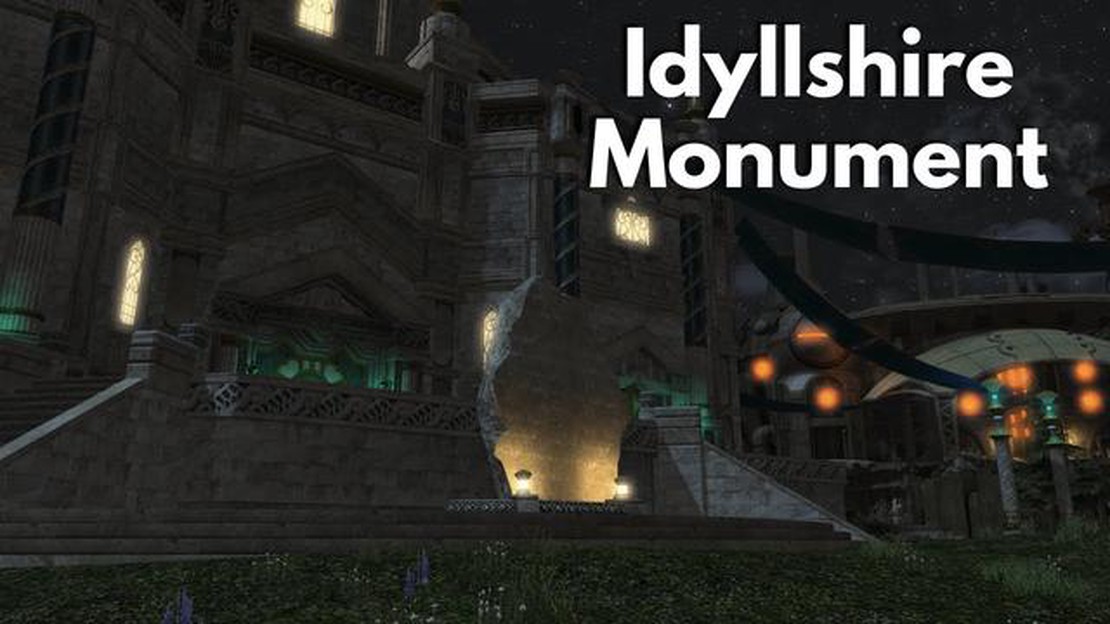
When can I enter Idyllshire? For avid gamers, discovering hidden gems within the vast virtual worlds they explore is a thrill in itself. One such …
Read Article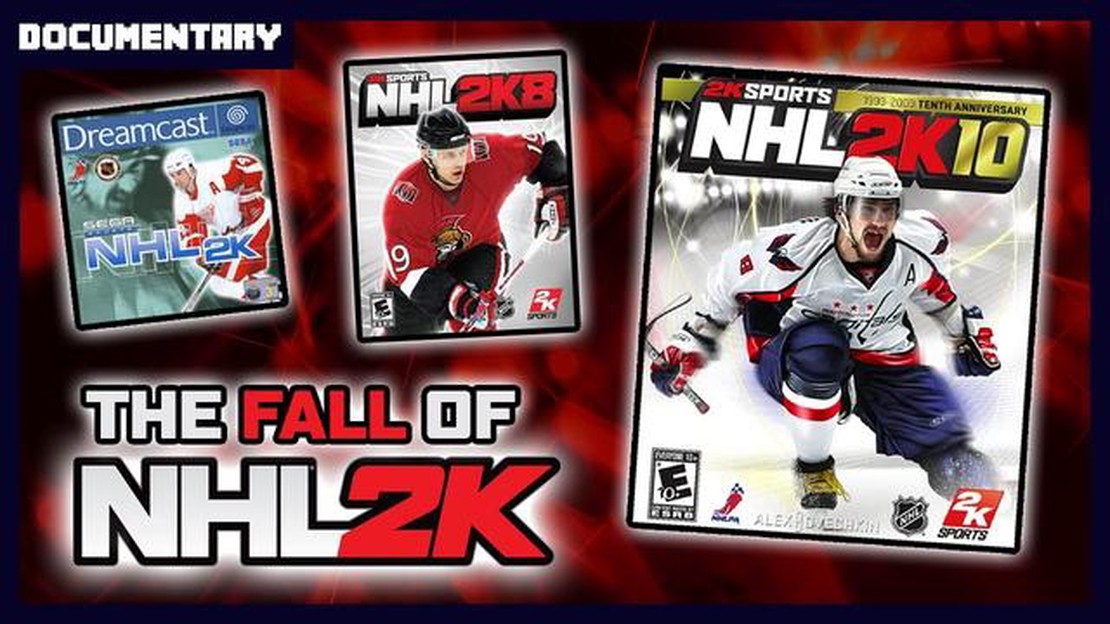
What was the most recent NHL 2K game released before the series ended? The NHL 2K series, developed by Visual Concepts and published by 2K Sports, was …
Read Article
What gear ratio is best for speed? In the world of gaming, speed is often of the essence. Whether you’re racing against the clock or competing against …
Read Article
How to have multiple islands on Animal Crossing New Horizon? Animal Crossing New Horizons is a popular simulation game where players create their own …
Read Article


