

Is Split-Screen Supported in Call of Duty Black Ops 3?
Does Call of Duty Black Ops 3 have split-screen? In the world of multiplayer gaming, split-screen gameplay has long been a beloved feature for console …
Read Article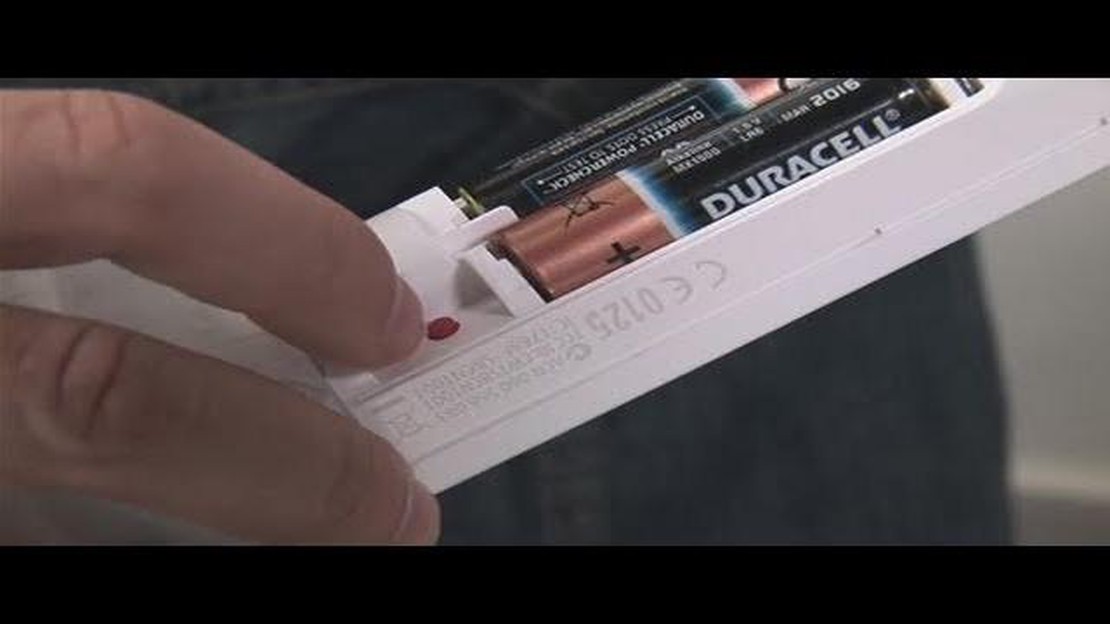
If you own a Wii console, you’re probably familiar with the Wii Remote, the primary controller used for playing games on the system. Over time, you may notice that your remote isn’t functioning as accurately as it used to, or that certain movements aren’t registering properly. This is likely due to the need for calibration, a process that ensures your Wii Remote is accurately detecting your movements.
Calibrating your Wii Controller is a simple and quick process that can greatly improve your gaming experience. In this step-by-step guide, we’ll walk you through the process of calibrating your Wii Remote, so you can get back to playing games with precision and accuracy.
Step 1: Access the Wii Home Menu
To begin the calibration process, you’ll first need to turn on your Wii console and access the Wii Home Menu. This is the main screen where you can access your games and settings. Once you’re on the Home Menu, you can proceed to the next step.
Pro Tip: Ensure that the sensor bar, which is used to track the movement of your Wii Remote, is properly positioned and connected. Make sure there are no obstructions blocking its view and that it is at a suitable height for your gameplay.
Step 2: Open the Wii Remote Settings
On the Wii Home Menu, navigate to the Wii Remote Settings option. This can typically be found in the Settings or Tools menu. Once you’ve located it, select the option to open the Wii Remote Settings.
Step 3: Select the Wii Remote to Calibrate
Once inside the Wii Remote Settings, you will see a list of available controllers. Select the Wii Remote that you want to calibrate. If you have multiple Wii Remotes connected, make sure to choose the correct one.
Step 4: Follow the On-Screen Instructions
After selecting your Wii Remote, the on-screen instructions will guide you through the calibration process. This usually involves placing your Wii Remote face down on a flat surface and pressing various buttons as prompted. Follow the instructions carefully, and make sure to complete all the required steps.
Step 5: Test the Calibration
Once the calibration process is complete, you can test the accuracy of your Wii Remote by playing a game that requires precise movements. Take note of any improvements in responsiveness and accuracy. If you’re still experiencing issues, you may need to repeat the calibration process or consider replacing the batteries in your Wii Remote.
Conclusion
By following these simple steps, you can easily calibrate your Wii Remote and ensure that it’s accurately detecting your movements. Regular calibration can help improve your gaming experience and ensure that you have full control over your games. So, if you’re finding that your Wii Remote isn’t quite as precise as it used to be, try calibrating it and get back to enjoying your favorite games with smooth and accurate gameplay.
If you’re having trouble with your Wii controller not responding correctly or if it’s not pointing in the right direction, it may need to be calibrated. Calibrating your Wii controller can help improve its accuracy and responsiveness, ensuring a better gaming experience.
To calibrate your Wii controller, follow these steps:
If you are still experiencing issues with your Wii controller after calibrating it, you may need to check the batteries or sync the controller with the Wii console again. Additionally, make sure there are no obstacles or interference between the Wii controller and the Wii console.
With these simple steps, you can easily calibrate your Wii controller and enjoy a more accurate and responsive gaming experience. Take the time to calibrate your Wii controller regularly to maintain optimal performance during your gaming sessions.
To start the calibration process for your Wii controller, the first step is to ensure that your Wii console is powered on. Locate the power button on the front of your Wii console and press it to turn it on. Wait for the console to fully boot up and display the main menu on your TV screen.
Read Also: How to Change Your Name on IMVU for Free
Make sure that you have connected your Wii controller to the console by syncing it. To sync the controller, press the sync button located on the controller itself as well as the sync button on the console. Once the synchronization is complete, the LED lights on the Wii controller will stop blinking and become solid, indicating that it is connected and ready to use.
If you are using a Wii Remote Plus or a Wii U Pro Controller, you can connect them wirelessly without the need for syncing. Simply turn on the controller and it will automatically connect to the console.
Once your Wii console is powered on and the controller is connected, you are now ready to proceed to the next steps of calibrating your Wii controller.
To calibrate your Wii controller, you’ll first need to access the Wii Menu. Follow these steps to do so:
Read Also: What does CR mean in WoW?
Now that you have access to the Wii Menu, you can proceed to the next step to begin calibrating your Wii controller.
Once your Wii console is powered on and you have selected the Wii Menu, you will need to navigate to the Wii Remote Settings. To do this, follow the steps below:
By following these steps, you will be able to access the Wii Remote Settings menu, where you can calibrate your Wii controller and make any necessary adjustments to ensure optimal performance during gameplay.
Once you have accessed the Wii Home Menu, navigate to the Wii Remote settings by clicking on the “Wii Settings” button. This should bring up a list of options related to your Wii Remote.
Scroll through the options until you find the “Calibrate” option. It may be located under a sub-menu such as “Sensor Bar” or “Controller Settings.” Once you have located it, highlight and select “Calibrate.”
Upon selecting “Calibrate,” a calibration screen will appear on your TV. This screen will provide instructions on how to properly calibrate your Wii Remote. Follow the on-screen prompts to complete the calibration process.
During calibration, you may be prompted to set the Wii Remote on a flat surface and press specific buttons. Make sure to follow these instructions carefully to ensure accurate calibration.
Once the calibration process is complete, you will receive a confirmation message on your TV screen. This means your Wii Remote is now calibrated and ready to use. Close any menus or settings screens and you can start playing your favorite Wii games with precise control!
After completing the previous steps, you are ready to follow the on-screen instructions to calibrate your Wii controller. These instructions will appear on your television screen and guide you through the calibration process.
The on-screen instructions will typically ask you to hold the Wii controller in a specific position or to perform certain movements. It is important to carefully follow these instructions to ensure an accurate calibration.
During the calibration process, you may be required to hold the Wii controller horizontally or vertically, or perform movements such as pointing or shaking the controller. Each instruction will be accompanied by a visual guide on the screen to help you understand exactly how to position the controller.
Pay close attention to the on-screen prompts and make sure to follow them precisely. Failure to do so may result in an inaccurate calibration, affecting the responsiveness and accuracy of your Wii controller during gameplay.
Once you have successfully completed the on-screen instructions, your Wii controller should be calibrated and ready to use. You can now enjoy a more precise and responsive gaming experience on your Wii console.
Calibrating your Wii controller helps to ensure that the motion controls are accurate and responsive. It helps in improving gameplay experience and making sure that your movements are accurately translated into actions on the screen.
No, not all games have a calibration feature. However, many popular games, such as Wii Sports and Wii Play, do have a calibration option in their settings menu.
If your Wii controller is not responding properly, calibrating it may solve the issue. Make sure to follow the step-by-step guide provided in the article to ensure that you calibrate it correctly.
It is recommended to calibrate your Wii controller whenever you feel that it is not responding accurately. Additionally, if you are playing a new game for the first time, it is a good idea to calibrate the controller to ensure optimal performance.
No, calibrating the Wii controller is a relatively simple process. Just follow the step-by-step guide provided in the article and you should be able to calibrate your controller without any issues.
Does Call of Duty Black Ops 3 have split-screen? In the world of multiplayer gaming, split-screen gameplay has long been a beloved feature for console …
Read Article
Did Burt Reynolds do the driving in Smokey and the Bandit? Smoky and the Bandit is a classic action-comedy film that was released in 1977. The movie …
Read Article
Comparing the Warlock Subclasses: Determining the Best Option The Warlock class in the popular game offers players a variety of subclass options, each …
Read Article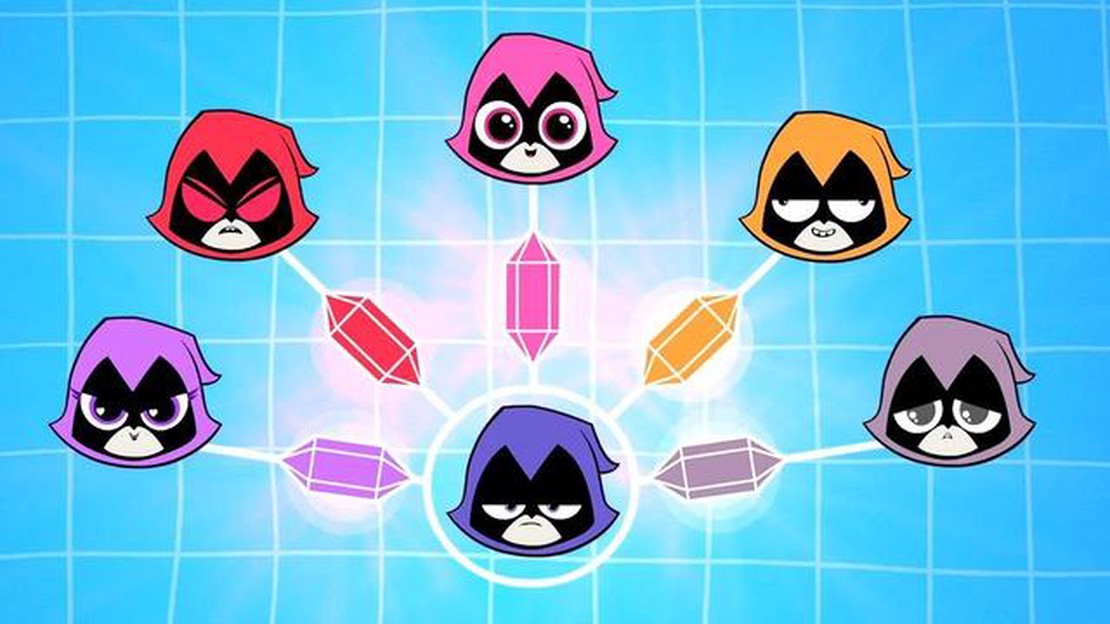
What color is Raven, purple or blue? A closer look at Raven’s true hue. When it comes to the color of Raven in the gaming world, there seems to be …
Read Article
Where is Naydra After you free her? The location of Naydra after being rescued in the popular game “The Legend of Zelda: Breath of the Wild” has been …
Read Article
Can Kratos beat Goku? One of the most debated topics among gamers and fans of both franchises is the hypothetical battle between Kratos, the God of …
Read Article


