


How to Get Lugia in Pokémon HeartGold: Step-by-Step Guide
Can I get lugia in HeartGold? If you’re a fan of Pokémon HeartGold and want to add the legendary Lugia to your team, you’re in luck! Lugia is a …
Read Article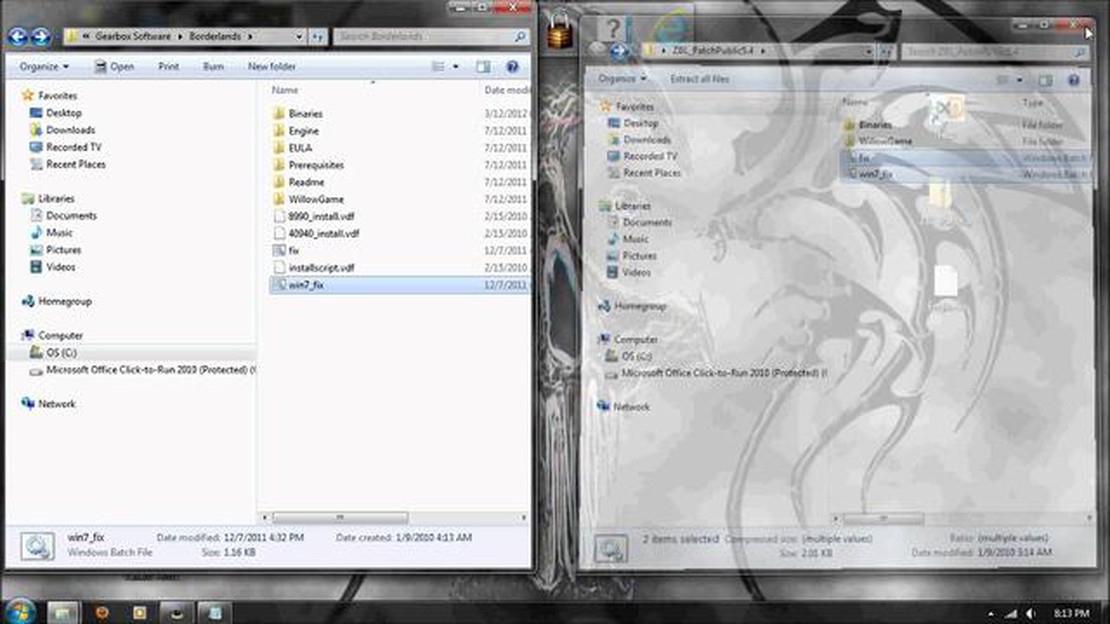
Borderlands 1 is a popular first-person shooter game that offers a unique blend of shooting action and RPG elements. While the game provides an immersive experience, some players may want more control over their gameplay. One way to access additional features and make modifications is by enabling the console.
The console is a developer tool that allows players to enter commands and make changes to the game. It can be used to customize gameplay settings, spawn items, or even teleport to different locations. Enabling the console in Borderlands 1 is relatively easy, and this step-by-step guide will walk you through the process.
To enable the console in Borderlands 1, you will need to locate and edit the game’s configuration file. This file contains various settings and options that can be modified to suit your preferences. By making a small tweak to the file, you can unlock the console and access its features.
Before making any changes to the game files, it is always a good idea to create a backup. This way, you can easily revert to the original settings if anything goes wrong. Once you have created a backup, you can proceed with enabling the console in Borderlands 1 and start enjoying the added flexibility it provides.
Borderlands 1 is a first-person shooter video game developed by Gearbox Software and published by 2K Games. Released in 2009, it is the first installment in the Borderlands series. The game is set in the distant future on the planet Pandora, which is known for its abundant resources and dangerous wildlife.
In Borderlands 1, players take on the role of a mercenary known as a “Vault Hunter” who is searching for a legendary alien vault rumored to contain advanced technology and immense wealth. The game features a unique blend of first-person shooting and role-playing elements, allowing players to customize their characters’ abilities, weapons, and playstyles.
Borderlands 1 offers both single-player and multiplayer modes, with cooperative play supporting up to four players. The game is known for its distinctive art style, combining cel-shaded graphics with dark humor and a gritty post-apocalyptic setting.
Throughout the game, players can explore Pandora’s open-world environments, complete missions, engage in side quests, and participate in fast-paced combat against a variety of enemies, including bandits, robot soldiers, and monstrous creatures. As players progress, they can acquire new weapons, loot valuable items, and earn experience points to level up their characters and unlock new skills.
Borderlands 1 received critical acclaim for its addictive gameplay, cooperative multiplayer, unique visual style, and vast amount of content. It was praised for its humor, replayability, and innovative “loot” system, which randomly generates weapons and items of varying rarity. The game’s success led to the development of several sequels and spin-offs, solidifying Borderlands as a popular and influential franchise in the gaming industry.
In order to enable the console in Borderlands 1, you will first need to locate the game’s configuration file. This file contains various settings that can be customized, including the option to enable the console.
To find the configuration file, you will need to navigate to the game’s installation directory. This is typically located in the “C:\Program Files (x86)\Steam\steamapps\common\Borderlands” folder, but may vary depending on your specific setup.
Once you have located the game’s installation directory, you will need to locate the “WillowEngine.ini” file. This file is responsible for storing the game’s settings, including the console enablement option.
To open the “WillowEngine.ini” file, you can use any text editor, such as Notepad. Right-click on the file and select “Open With” to open it in your preferred text editor.
Inside the “WillowEngine.ini” file, you will need to find the section titled " [Engine.Console]". This section is responsible for controlling various console-related settings for the game. Within this section, you will need to add a new line that says “ConsoleKey=None” to enable the console.
After adding the “ConsoleKey=None” line, save the changes to the “WillowEngine.ini” file and exit the text editor. You have now successfully enabled the console in Borderlands 1.
To enable the console in Borderlands 1 on Windows, you need to locate the configuration file. Here’s how you can find it:
Note: If you can’t find the installation folder of Borderlands 1, you can try searching for it using the Windows search function. Simply type “Borderlands” or “WillowGame” in the search bar and it should locate the folder for you.
Once you have located the “WillowInput.ini” file, you can proceed to edit it and enable the console in Borderlands 1. Open the file using a text editor, such as Notepad.
Inside the “WillowInput.ini” file, look for the following line:
[Engine.Console]
Add the following line below it:
Read Also: How to Defeat Masanori in Genshin Impact: Strategies and Tips
ConsoleKey=Tilde
This will bind the console to the tilde (~) key. You can change it to any other key if you prefer.
Save the changes to the “WillowInput.ini” file and close the text editor. You have now enabled the console in Borderlands 1 on Windows!
To enable the console in Borderlands 1 on a Mac, you need to locate and edit the configuration file. Follow these steps to find and modify the file:
Once you have completed these steps, the console in Borderlands 1 will be enabled on your Mac. You can now press the tilde key (~) in the game to open the console and enter commands.
After enabling the developer console in Borderlands 1, the next step is to edit the configuration file. This file contains various settings for the game, and we will be modifying it to allow access to the console.
Read Also: Is Champion a Nike-owned brand?
By following these steps, you will be able to edit the configuration file in Borderlands 1 and enable the console for easier access to various commands and options. Note that modifying game files may have unintended effects or be considered cheating in multiplayer environments, so use the console responsibly.
To enable the console in Borderlands 1, you need to open the game’s configuration file in a text editor. This file contains various settings and options for the game, including the console commands. Follow the steps below to open the configuration file:
Now that you have the configuration file open, you can proceed to make the necessary changes to enable the console in Borderlands 1. Remember to save the file after making any modifications. Once the changes are saved, you can launch the game and use the console to enter commands and customize your gameplay experience.
If you want to enable the console in Borderlands 1, you can do so by modifying the configuration file. This file contains various settings and preferences for the game, and it is where you can find the option to enable the console.
To begin, locate the configuration file for Borderlands 1. The file is typically located in the game’s installation directory, but the exact location may vary depending on your operating system. Look for a file named “WillowInput.ini” or “DefaultInput.ini”.
Once you have found the configuration file, open it using a text editor such as Notepad. Look for the section that contains the key bindings for the game. This section is typically labeled something like “[Engine.PlayerInput]”.
In this section, you will need to add a new line of code to enable the console. Enter the following code: “ConsoleKey=None”. This code tells the game to activate the console when the specified key is pressed. You can choose any key you prefer by replacing “None” with the desired key. For example, you can use “Tilde” to activate the console when the “~” key is pressed.
Save the changes to the configuration file and start Borderlands 1. Now, when you press the designated key during gameplay, the console should appear, allowing you to enter commands and access various developer functions.
The purpose of enabling console in Borderlands 1 is to access the developer console, which allows players to enter various commands and cheats to modify the game.
Yes, it is possible to enable console in Borderlands 1 by making a few adjustments to the game files.
To enable console in Borderlands 1, you need to locate the “WillowInput.ini” file in the game’s directory and make some changes to it. First, open the file in a text editor and find the section labeled “[Engine.Console]”. Then, add the line “ConsoleKey=Tilde” under it. Save the file and launch the game. Press the ` key to open the console.
Enabling console in Borderlands 1 does not come with any significant risks or drawbacks. However, it is important to note that using cheats or modifying the game files can affect the gameplay experience and may lead to glitches or crashes.
There are several useful console commands in Borderlands 1 that can be used to improve the gameplay experience. Some common commands include “God” (invincibility), “Fly” (enable flying), “GiveWeapon” (spawn specific weapons), and “SetExperiencePoints” (adjust player experience).
No, console cannot be enabled in the console versions of Borderlands 1. The console commands and cheats are only available for the PC version of the game.
Can I get lugia in HeartGold? If you’re a fan of Pokémon HeartGold and want to add the legendary Lugia to your team, you’re in luck! Lugia is a …
Read Article
Are FIFA 17 servers still up 2021? If you’re an avid FIFA player, you might be wondering if the servers for FIFA 17 are still up and running in 2021. …
Read Article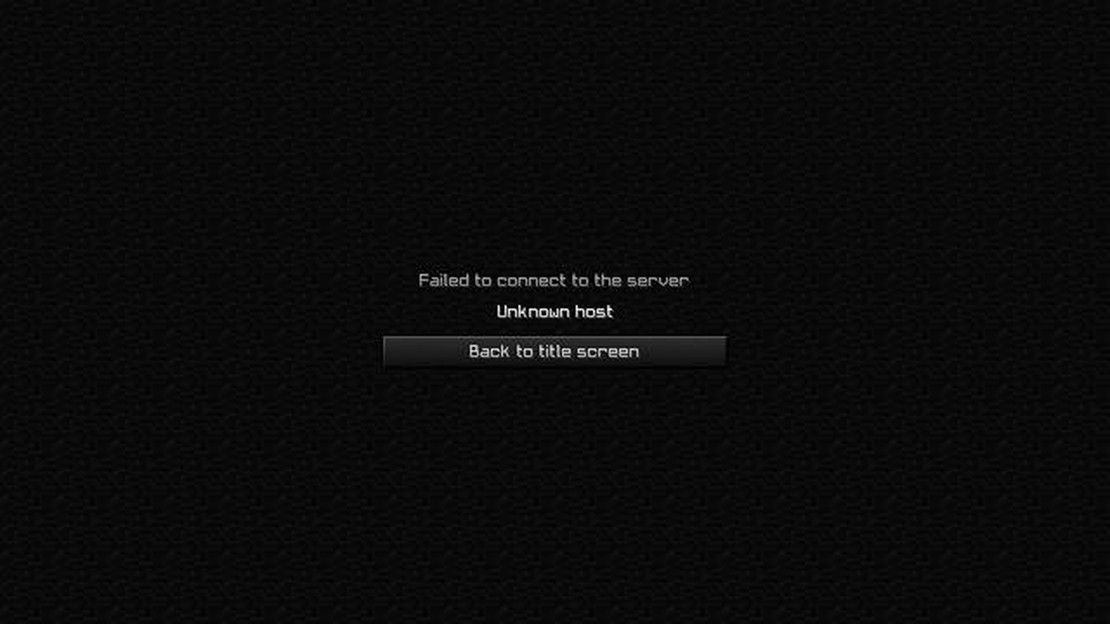
What causes unknown host error? When it comes to online gaming, one of the most frustrating issues that can occur is the “Unknown Host Error”. This …
Read Article
What is the best aim technique in overwatch? Overwatch is a highly competitive multiplayer first-person shooter game developed by Blizzard …
Read Article
Who can open red sparkles Lego Harry Potter? Lego Harry Potter fans are buzzing with excitement over the highly coveted Red Sparkles Lego Harry Potter …
Read Article
An Introduction to Multiman PS3: Everything You Need to Know Multiman PS3 is a popular piece of software for PlayStation 3 (PS3) gaming consoles that …
Read Article


