

What Was the First 3D Game Ever Created?
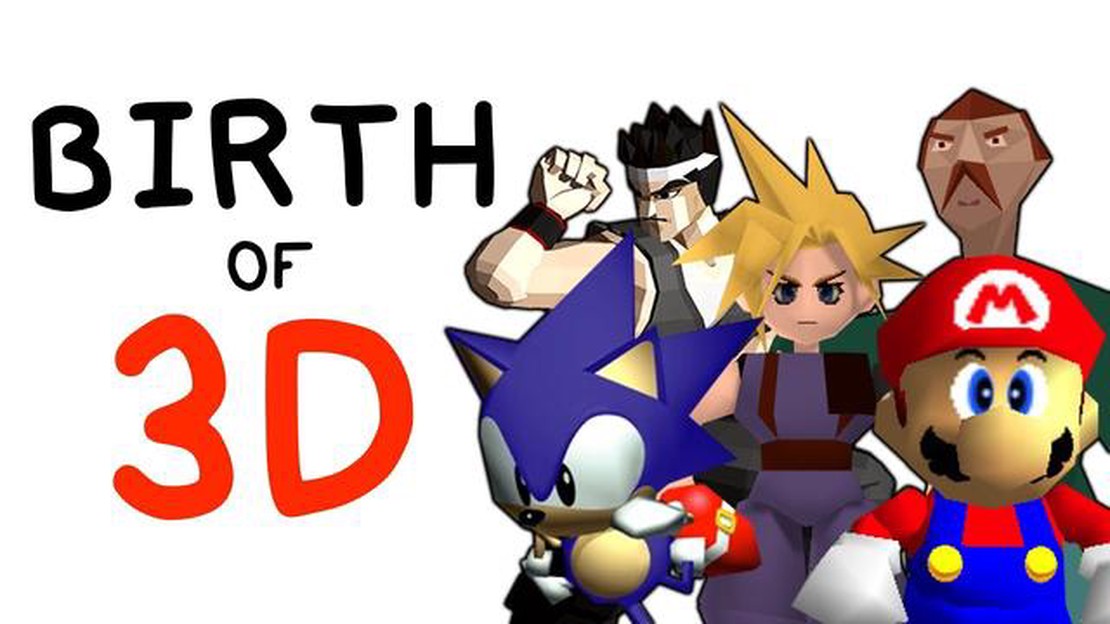
What is the first 3D game? Video games have come a long way since their humble beginnings. Now, with advanced graphics and gameplay mechanics, it’s …
Read Article
If you’re an avid music lover, having your favorite tunes on the go is a must. One way to do this is by transferring music from your computer to an MP3 player. Whether you’re using a dedicated MP3 player or your smartphone, this guide will walk you through the steps to make the process seamless and easy.
Firstly, it’s important to ensure that your MP3 player is compatible with your computer. Most MP3 players these days are plug and play, meaning they can be connected directly to your computer via a USB cable. However, some older models may require specific software or drivers to be installed. Check the manufacturer’s website or user manual for instructions on how to connect your MP3 player to your computer.
Once you’ve established the connection between your MP3 player and computer, it’s time to transfer the music files. The exact method may vary depending on your specific MP3 player and the software you’re using. In most cases, you’ll be able to simply drag and drop the music files from your computer’s file manager into the folder designated for music on your MP3 player. Alternatively, you may be able to use software provided by the manufacturer to transfer the music.
It’s worth noting that not all music file formats are supported by all MP3 players. The most common file format for digital music is MP3, but some MP3 players also support additional formats such as WAV, FLAC, or AAC. Before transferring your music, make sure the files are in a format that is compatible with your MP3 player. If they are not, you may need to use a conversion tool to change the file format.
After you’ve successfully transferred the music files to your MP3 player, you can disconnect it from your computer. Safely eject the device to ensure that no data is lost or corrupted. Now you’re ready to enjoy your favorite tunes wherever you go!
Before you can transfer music from your computer to your MP3 player, you need to make sure your MP3 player is ready. Here are the steps to prepare your MP3 player:
By following these steps, you can ensure that your MP3 player is prepared and ready to receive music from your computer. Once your MP3 player is prepared, you can proceed to the next steps of transferring music.
In order to transfer music from your computer to your MP3 player, it is important to ensure that you have enough space on your device. Clearing space on your MP3 player can be done by deleting unnecessary files or transferring them to your computer or another storage device. This will free up space and make it easier to transfer your desired music files.
In addition to clearing space, it is also important to regularly update the firmware of your MP3 player. Firmware updates often include bug fixes and improvements that can enhance the performance and compatibility of your device. To update the firmware, you will need to check the manufacturer’s website for any available updates and follow the provided instructions to install them.
Updating the firmware of your MP3 player can also help to ensure that it is compatible with the latest file formats and software updates. This will make it easier to transfer music files from your computer, as the updated firmware will be able to recognize and play the files properly.
Before updating the firmware, it is recommended to backup your MP3 player’s existing files to prevent any data loss. This can be done by connecting your MP3 player to your computer and transferring the files to a designated folder. Once the firmware update is complete, you can then transfer the files back onto your MP3 player.
By clearing space and updating the firmware of your MP3 player, you can ensure that it is ready to receive and play the music files from your computer. This will make the process of transferring music smoother and more efficient, allowing you to enjoy your favorite songs on the go.
Once you have all the necessary files downloaded on your computer, it’s time to connect your MP3 player. Here are the steps to connect your MP3 player:
It’s important to note that some MP3 players may require additional steps to enable USB mode, such as selecting the correct mode on the device’s settings or turning off any power-saving options. Refer to your MP3 player’s user manual for specific instructions.
Now that your MP3 player is connected to your computer, you can start transferring music files. Make sure the MP3 player is selected as the destination device in your music transfer software or file explorer. You can then select the music files from your computer and transfer them to your MP3 player.
Transferring music from your computer to an MP3 player is a simple process when using a USB cable. The USB cable allows you to connect your MP3 player to your computer and transfer files quickly and efficiently. Here are the steps you can follow to transfer music using a USB cable:
If you encounter any connection issues while transferring music from your computer to your MP3 player using a USB cable, here are a few troubleshooting steps you can try:
Transferring music files from your computer to your MP3 player is a simple process that allows you to enjoy your favorite tunes on the go. Here are some steps to help you transfer your music files smoothly.
1. Connect your MP3 player to your computer: Use a USB cable to connect your MP3 player to your computer. Make sure that both devices are turned on and properly connected. Your computer should recognize the MP3 player and display it as a removable storage device.
Read Also: Fastest Way to Obtain Maple Syrup in Stardew Valley
2. Locate your music files: Open the file explorer on your computer and navigate to the folder where your music files are stored. This could be the “Music” folder or any other folder where you have saved your music files.
3. Select the music files: Select the music files you want to transfer to your MP3 player. You can either click and drag to select multiple files or use the Ctrl or Shift key to select specific files.
4. Copy the music files: Once you have selected the music files, right-click on them and choose the “Copy” option. Alternatively, you can use the keyboard shortcut Ctrl + C to copy the files.
5. Paste the music files: Open the removable storage device (MP3 player) in the file explorer and navigate to the folder where you want to transfer the music files. Right-click inside the folder and choose the “Paste” option. Alternatively, you can use the keyboard shortcut Ctrl + V to paste the files.
6. Safely remove your MP3 player: After the transfer is complete, safely remove your MP3 player from your computer. On Windows, you can do this by clicking on the “Safely Remove Hardware” icon in the system tray and selecting your MP3 player. On Mac, you can drag the MP3 player icon to the trash bin to eject it.
7. Enjoy your music: Disconnect your MP3 player from the computer and you’re ready to enjoy your newly transferred music files. You can now play them on your MP3 player whenever and wherever you want.
Read Also: Unlock Your DVD Player: Make it Region Free!
Transferring music files from your computer to your MP3 player is a straightforward process that allows you to have your favorite music at your fingertips. Follow these steps, and you’ll be rocking out to your favorite tunes in no time.
If you are looking for a convenient and efficient way to transfer music from your computer to an MP3 player, using a music management software and the drag-and-drop method is a great option. With this method, you can easily organize and transfer your music files without any technical difficulties.
To get started, you will need to install a music management software on your computer. There are various software options available, such as iTunes, Windows Media Player, or Winamp, that provide easy-to-use interfaces for managing and transferring music.
Once you have installed the music management software, you can connect your MP3 player to your computer using a USB cable. The software should automatically recognize your device and display it in the interface.
Next, you can simply navigate to your music library within the software and select the songs or albums you want to transfer to your MP3 player. You can create playlists, sort your music by artist or genre, and easily drag and drop your selected files onto your MP3 player’s icon in the software.
It is important to ensure that your MP3 player is properly connected and recognized by the software before transferring the music. You can also check the storage capacity of your MP3 player to ensure that you have enough space for the selected files.
Once you have finished transferring your music, you can safely disconnect your MP3 player from your computer and enjoy your favorite songs on the go. The drag-and-drop method offers a simple and straightforward way to transfer music, making it a popular choice among users.
When it comes to transferring music from your computer to your MP3 player, it’s important to have an organized library. This will make it easier to find and select the songs you want to transfer.
One way to organize your music is by creating folders on your computer for different genres, artists, or albums. This allows you to easily locate the specific songs you’re looking for. You can use the “File Explorer” on Windows or the “Finder” on Mac to create and manage these folders.
Another helpful tip is to use a music management software, such as iTunes or Windows Media Player, to organize your music. These programs allow you to add metadata to your songs, such as the artist, album, and genre. This makes it even easier to search for specific songs or create playlists.
In addition to organizing your music by folders or using music management software, you can also create playlists on your MP3 player. Playlists allow you to group songs together based on a specific theme or mood, making it convenient to listen to different types of music without having to search for individual songs.
If you have a large music collection, you may also consider creating a catalog or spreadsheet to keep track of your songs. This can be especially helpful if you have songs stored on different devices or external hard drives. You can use columns to list the song title, artist, album, and any other relevant information.
Overall, taking the time to organize your music before transferring it to your MP3 player will save you time and frustration in the long run. Whether you choose to organize by folders, use music management software, create playlists, or keep a catalog, find a method that works best for you and stick with it.
Yes, you can easily transfer music from your computer to an MP3 player. It is a simple process that requires connecting your MP3 player to your computer using a USB cable and then transferring the music files to the device.
The type of USB cable you need depends on the specific model of your MP3 player. Most MP3 players use a standard USB-to-micro USB cable. However, some MP3 players may have a different type of port, so it’s important to check the user manual or the manufacturer’s website for the correct cable.
In most cases, you do not need specialized software to transfer music to an MP3 player. Most MP3 players function as mass storage devices, which means you can simply drag and drop the music files from your computer to the MP3 player. However, some MP3 players may come with their own software that provides additional features and functionality, so it’s always a good idea to check the user manual or the manufacturer’s website for any specific recommendations.
Most MP3 players support a wide range of audio file formats, including MP3, WMA, WAV, and FLAC. However, it’s always a good idea to check the specifications of your specific MP3 player to ensure compatibility with the file formats you want to transfer.
What is the first 3D game? Video games have come a long way since their humble beginnings. Now, with advanced graphics and gameplay mechanics, it’s …
Read Article
What’s the coolest game in the world? If you are a gaming enthusiast, then you know that finding your next addiction can be an exhilarating …
Read Article
What is the most basic Sky TV package? If you are a gaming enthusiast or a news junkie, the most basic Sky TV package is something you need to know …
Read Article
What day is Ganyu rerun? Genshin Impact players have been eagerly awaiting the return of Ganyu, one of the most beloved characters in the game. As an …
Read Article
Why does call of duty take up so much space? Call of Duty is one of the most popular video game franchises in the world, known for its intense …
Read Article
Which characters can use dark magic in Lego Harry Potter 5 7? The Lego Harry Potter 5-7 video game is a magical and exciting journey that allows …
Read Article


