
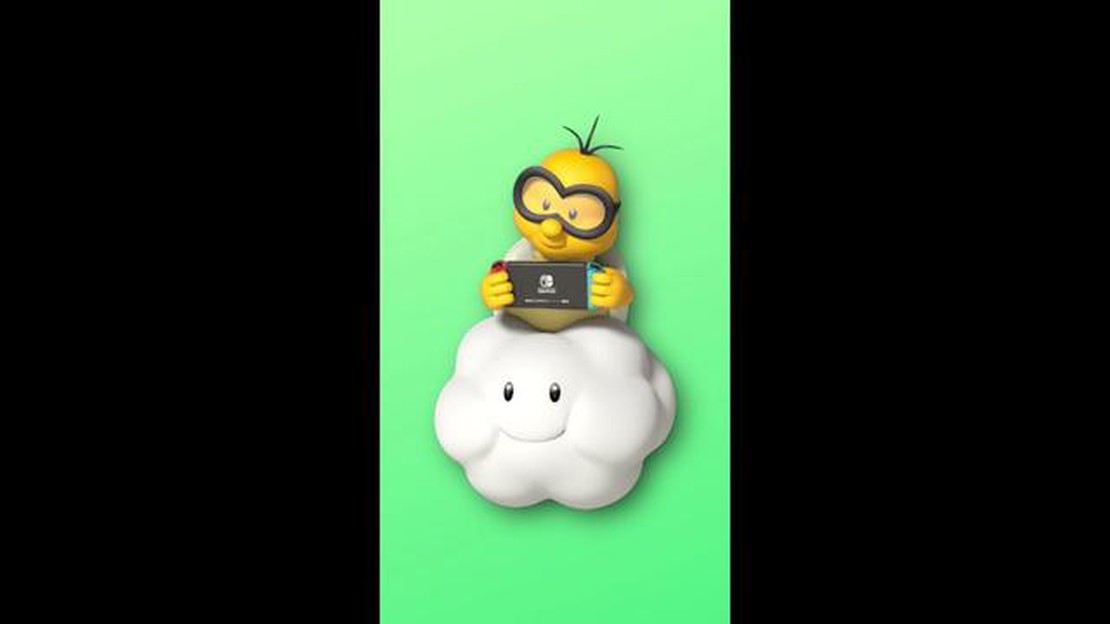

What Age is Appropriate to Play the Nintendo Switch?
What age to play the Nintendo Switch? The Nintendo Switch is a popular gaming console that has captured the attention of people of all ages. However, …
Read Article
The Sims 2 is a popular simulation game that allows players to create and control virtual characters in a variety of virtual worlds. If you’re a Mac user and want to enjoy this classic game on your device, you’re in luck! In this step-by-step guide, we will walk you through the process of installing Sims 2 on your Mac.
To begin, you will need to ensure that your Mac meets the minimum system requirements for running Sims 2. These requirements include a Mac computer with an Intel Core 2 Duo processor, at least 2GB of RAM, and Mac OS X 10.5.7 Leopard or higher. It’s also recommended to have at least 6GB of free disk space to accommodate the game and any additional expansions or custom content you may want to install.
Once you’ve confirmed that your Mac meets the system requirements, the next step is to acquire a copy of Sims 2. You can purchase the game from various online retailers or check if it’s available in your local game store. Make sure to obtain a version of Sims 2 that is compatible with Mac, as there are separate versions for Windows and Mac operating systems.
After obtaining a copy of Sims 2, you will need to insert the game disc into your Mac’s CD/DVD drive. If your Mac doesn’t have a built-in optical drive, you can use an external DVD drive or create a disc image and mount it using software such as Disk Utility. Once the game disc is inserted, it should appear on your desktop or in the Finder.
With the game disc mounted, double-click on it to open the Sims 2 installer. Follow the on-screen instructions to install the game on your Mac. You may be prompted to enter the product key or serial number that comes with your copy of Sims 2. Make sure to enter it accurately to ensure a successful installation.
Once the installation is complete, you can launch Sims 2 by double-clicking on its icon in the Applications folder or by searching for it in Spotlight. Follow the prompts to create a new Sim character and start playing the game. Enjoy the virtual world of Sims 2 on your Mac!
If you’re a fan of simulation games and you have a Mac, you might be wondering how to get The Sims 2 up and running on your computer. Fortunately, the process is relatively simple if you follow these step-by-step instructions.
Congratulations! You’ve successfully installed The Sims 2 on your Mac. Now you can immerse yourself in the virtual world and start building your virtual life.
If you want to install Sims 2 on your Mac, the first step is to download the game from a legitimate source. There are several options available to do this, depending on your preference and budget.
Read Also: The Cost of Tony Stark's Suit: Revealing the Price Tag
1. Purchase the game: One option is to purchase the game from authorized online retailers or physical stores. This ensures that you are getting a legal copy of the game and supports the developers. Make sure to check the system requirements to ensure compatibility with your Mac.
2. Download from official websites: Some game developers provide the option to download the game directly from their official websites. This can be a convenient and secure way to obtain the game. Look for official download links and follow the instructions provided.
Read Also: Discovering the Toughest Legendary Bounty in RDR2
3. Use digital distribution platforms: Digital platforms like Steam or Origin may offer Sims 2 for download. These platforms often provide additional features like automatic updates and cloud saves. Create an account on the platform, search for Sims 2, and follow the instructions to complete the download process.
4. Consider alternative sources: If you are unable or unwilling to purchase the game or download from official sources, be cautious while using alternative sources like torrent websites. Downloading games from unofficial sources can be illegal and risky, as they may contain malware or pirated copies of the game.
5. Check system requirements: Before downloading Sims 2, make sure your Mac meets the minimum system requirements specified by the game. This includes having the required operating system, processor, RAM, and storage space. Failure to meet these requirements may result in performance issues or the game not running at all.
By following these steps and downloading the game from a reliable source, you can ensure a smooth and legal installation of Sims 2 on your Mac.
If you want to play Sims 2 on your Mac, you will need to install Wine. Wine is a software that allows you to run Windows applications on your Mac. Here is a step-by-step guide on how to install Wine:
Installing Wine on your Mac may seem complicated at first, but by following these steps, you will be able to play Sims 2 and other Windows games on your Mac with ease. Enjoy!
Wine is a compatibility layer that allows you to run Windows software on your Mac. Here are the steps to set up Wine for Sims 2:
Once Sims 2 is installed, you can launch the game through Wine on your Mac and start playing. Keep in mind that Wine may not be able to run all Windows software perfectly, so you may encounter some compatibility issues. However, Sims 2 is known to work well with Wine on Mac, so you should be able to enjoy the game smoothly.
Before you can install Sims 2 on your Mac, you need to mount the game disk. Here’s how:
Once you’ve successfully mounted the game disk, you’re ready to proceed with the installation process for Sims 2 on your Mac.
Once you have successfully installed Sims 2 on your Mac, you are ready to launch the game and start playing. Follow these steps to get started:
Enjoy the immersive world of Sims 2 on your Mac and have fun shaping your Sim’s life and destiny!
Yes, it is possible to install Sims 2 on a Mac. This step-by-step guide will walk you through the process.
No, Sims 2 is not available for download on the Mac App Store or any other digital distribution platform. You will need to use the installation disc to install the game on your Mac.
What age to play the Nintendo Switch? The Nintendo Switch is a popular gaming console that has captured the attention of people of all ages. However, …
Read Article
Why are my Sims 3 Mods not working? Modding is a popular way for players to customize their gaming experience in The Sims 3. With mods, players can …
Read Article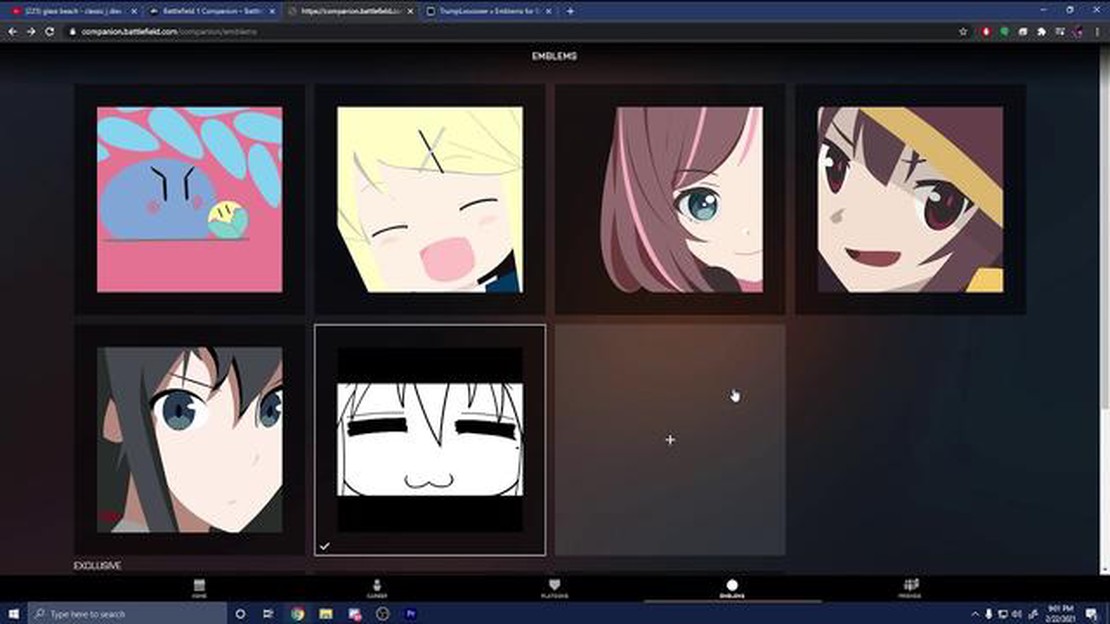
How do I export BF1 emblem? If you are a gaming enthusiast and love playing Battlefield 1 (BF1), then you might want to show off your skills by …
Read Article
How do you get high end weapons in The Division? If you’re a fan of the popular game The Division, you know that acquiring high-end weapons can make …
Read Article
Is Sub-Zero good guy? Sub-Zero, the iconic character from the Mortal Kombat franchise, has always been a subject of much debate among fans and gamers …
Read Article
How many chests are in Starfell Valley Genshin? In the popular open-world RPG game Genshin Impact, players immerse themselves in the beautiful fantasy …
Read Article


