

How to Calculate the Minimum Stock
How to calculate the minimum stock? Calculating the minimum stock for consoles is an essential task for any retailer or distributor in the gaming …
Read Article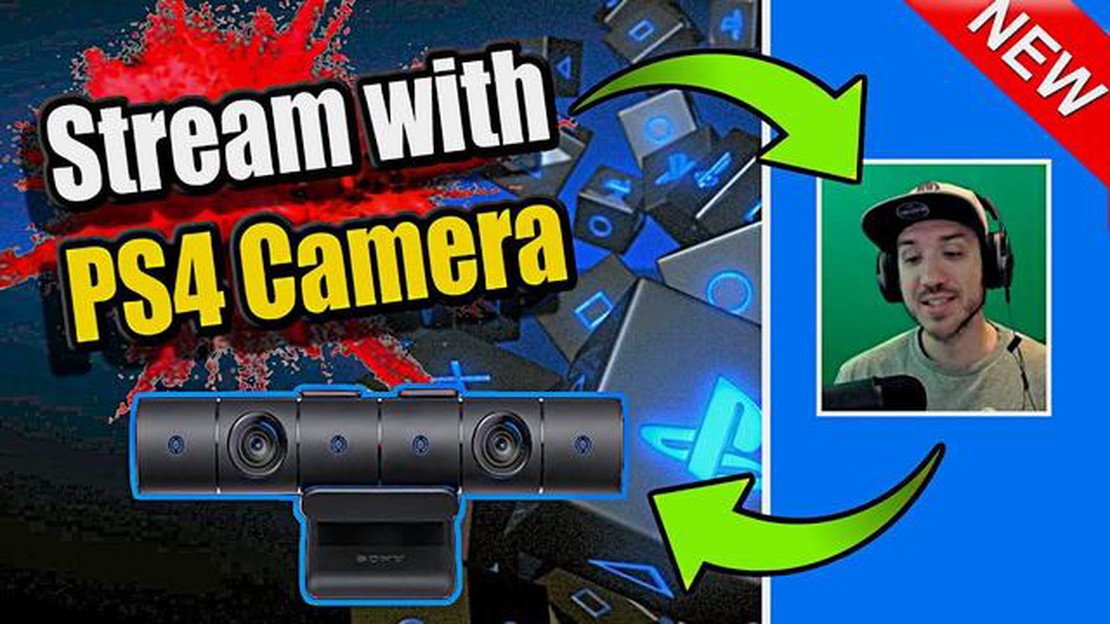
If you’re a gaming enthusiast, chances are you’ve heard of Twitch. This popular live streaming platform allows gamers to broadcast their gameplay to an audience of millions. One of the best ways to enhance your Twitch stream is by connecting your PS4 camera. This not only allows viewers to see your reactions as you play, but it also adds a personal touch to your broadcasts. In this step-by-step guide, we’ll walk you through the process of connecting your PS4 camera to Twitch, so you can start streaming like a pro.
Step 1: Set up your PS4 Camera
The first step in connecting your PS4 camera to Twitch is to set it up correctly. Start by positioning the camera on top of your TV or monitor, making sure it is securely fastened. Then, connect the camera’s USB cable to one of the USB ports on your PS4 console. Once connected, the PS4 will automatically recognize your camera and you’ll be ready to move on to the next step.
Step 2: Configure your Twitch settings
Before you can start streaming with your PS4 camera, you’ll need to configure your Twitch settings. Start by logging in to your Twitch account on your PS4 console. Once logged in, go to the settings menu and select “Stream.” Here, you’ll find options to adjust your stream quality, enable microphone audio, and choose your camera. Select the PS4 camera from the list of available cameras, and make sure it is set as the default camera for streaming.
Step 3: Start your Twitch stream
With your PS4 camera set up and your Twitch settings configured, you’re now ready to start streaming. Launch the game you want to stream on your PS4 console, and double-tap the Share button on your controller to open the sharing menu. From the sharing menu, select “Broadcast Gameplay” and then choose Twitch as your streaming platform. Confirm your settings and start your stream. Your PS4 camera will now be broadcasting alongside your gameplay, allowing viewers to see your reactions and immerse themselves in your gaming experience.
In conclusion, connecting your PS4 camera to Twitch is a simple process that can greatly enhance your streaming experience. By following these step-by-step instructions, you’ll be able to show off your gaming skills and engage with your audience on a whole new level. So, go ahead and connect your PS4 camera to Twitch, and start streaming like a pro today!
Streaming your gameplay on Twitch is a great way to share your gaming experiences with others. One way to enhance your Twitch stream is by connecting your PS4 camera, which allows your viewers to see your face and reactions as you play. Follow these steps to connect your PS4 camera to Twitch.
By following these step-by-step instructions, you can easily connect your PS4 camera to Twitch and enhance your streaming experience. Good luck and have fun streaming!
Before you can connect your PS4 Camera to Twitch, you need to make sure it is set up properly. Follow these steps to prepare your PS4 Camera:
By following these steps, you can ensure that your PS4 Camera is properly prepared for connecting to Twitch. Once your camera is set up, you can proceed to the next steps of connecting it to Twitch and streaming your gaming sessions.
Creating a Twitch account is a straightforward process that can be completed in just a few steps. Here’s how you can set up your Twitch account:
Step 1: Go to the Twitch website
Open your web browser and navigate to the Twitch website at www.twitch.tv .
Step 2: Sign up for an account
Click on the “Sign up” button located at the top right corner of the Twitch homepage. Fill in the required information, including your username, password, and email address. You may also have the option to sign up with your existing social media accounts.
Step 3: Verify your account
After completing the sign-up process, Twitch will send you an email with a verification link. Check your email inbox and click on the link to verify your account. If you don’t see the email in your inbox, make sure to check your spam folder.
Step 4: Customize your profile
Once your account is verified, you can customize your Twitch profile. Add a profile picture and fill in your bio to let viewers know more about you.
Step 5: Enable two-factor authentication
For added security, consider enabling two-factor authentication (2FA) for your Twitch account. This will require you to enter a verification code from your mobile device each time you log in.
Read Also: Who voices Bennett in English?
Step 6: Explore Twitch features
Now that your account is set up, take some time to explore the different features and settings Twitch has to offer. Familiarize yourself with the dashboard, chat functionality, and streaming options to get the most out of your Twitch experience.
Read Also: Is the Winx saga suitable for 13 year olds?
Congratulations! You have successfully set up your Twitch account and are ready to start streaming or watching your favorite content on the platform.
The PS4 camera is a great accessory that can enhance your gaming experience on the PS4 console. It allows you to use motion controls, participate in video chats, and even stream your gameplay on platforms like Twitch. To connect your PS4 camera to your PS4, follow these simple steps:
If you encounter any issues during the connection process, make sure you have the latest system software update installed on your PS4 console. Additionally, check that the USB cable is not damaged and try connecting the camera to a different USB port on your PS4 console. If the problem persists, consult the official PlayStation support resources for further assistance.
When setting up your camera for streaming on Twitch, it’s important to adjust the camera settings to ensure the best possible video quality. This can help make your stream more engaging and professional for your viewers.
Resolution: One of the first settings to adjust is the resolution of your camera. You’ll want to choose a resolution that is supported by Twitch and provides a clear image. Common resolutions for streaming are 720p (1280x720) and 1080p (1920x1080).
Frame rate: The frame rate of your camera determines how many frames per second are captured in your video. Higher frame rates can make the video appear smoother, but require more processing power. A frame rate of 30 frames per second (fps) is a common choice for streaming on Twitch.
Exposure: The exposure settings of your camera control how much light is captured in the video. Adjusting the exposure can help ensure that your stream is not too bright or too dark. Most cameras have an automatic exposure mode, but you may also have manual control options.
Focus: Ensuring that your camera is in focus is essential for a clear and professional-looking stream. Some cameras have autofocus capabilities, while others may require manual adjustment. Use the camera’s focus settings to make sure you are in focus and your stream is sharp.
White balance: The white balance setting of your camera affects the color temperature of the video. It helps maintain accurate colors, especially in different lighting conditions. You can choose an automatic white balance mode or manually adjust it to match your streaming environment.
Zoom and angle: Consider the zoom level and angle of your camera to determine the framing and composition of your stream. Experiment with different angles and zoom levels to find the best setup that showcases you and your gaming setup.
Testing and adjusting: Once you have made adjustments to your camera settings, it’s important to test your stream to ensure everything looks and works as expected. Take the time to watch some of your stream recordings to see if any further adjustments are needed.
By taking the time to adjust your camera settings for Twitch streaming, you can create a visually appealing and professional stream that will enhance your gaming experience for both you and your viewers.
Once you have connected your PS4 camera to Twitch, it’s important to test it to ensure that it is working correctly. This will allow you to provide a high-quality stream and engage with your audience effectively.
To test your PS4 camera on Twitch, follow these steps:
Additionally, you can adjust the camera settings to optimize the video quality. This includes adjusting the brightness, contrast, and color saturation to ensure that your stream looks professional and visually appealing.
While testing your PS4 camera on Twitch, it’s a good idea to have a friend or family member watch your stream on a separate device. This will allow them to provide feedback on the video and audio quality, as well as any potential issues with the camera feed.
Remember, first impressions are crucial on Twitch, so take the time to test your PS4 camera before going live. By ensuring that your camera is working properly and that the video quality is optimal, you can create a more engaging and enjoyable streaming experience for your audience.
To connect your PS4 camera to Twitch, first make sure your PS4 camera is properly connected to your PS4 console. Then, log in to your Twitch account on your PS4 and go to the “Settings” menu. From there, select “Devices” and then “PlayStation Camera.” Finally, enable the option to use the camera for broadcasting on Twitch.
Connecting your PS4 camera to Twitch allows you to include a video feed of yourself while you are streaming games on the platform. This adds a personal touch to your stream and allows your viewers to see your reactions and interact with you in real time. It also makes your stream more engaging and entertaining for your audience.
Yes, you can use other cameras to stream on Twitch if they are compatible with your PS4 console. Some popular options include webcams and DSLR cameras. However, keep in mind that the steps to connect a different camera may vary, so make sure to consult the camera’s manual or website for instructions.
Yes, it is possible to stream on Twitch without using a camera. Many streamers choose to focus solely on their gameplay and provide commentary or interact with their viewers through text chat. It all depends on the type of content you want to create and the audience you want to attract.
How to calculate the minimum stock? Calculating the minimum stock for consoles is an essential task for any retailer or distributor in the gaming …
Read Article
How do you clean 7 statues? Statues in the popular game Genshin Impact can often become dirty or covered in dust, diminishing their beauty. If you’re …
Read Article
What time do destiny bounties reset? Destiny is a popular online multiplayer game that offers various activities for players to engage in, including …
Read Article
Is Jean Genshin Impact good? Genshin Impact has quickly become one of the most popular action role-playing games in recent years, and as players dive …
Read Article
What is ASI loader gta4? If you’re a fan of the Grand Theft Auto series, particularly GTA 4, you may have come across the term “ASI Loader” in …
Read Article
Can you trade in let’s go without Nintendo online? If you’re a Pokémon fan, there’s no doubt that you’ve been eagerly awaiting the release of Pokémon …
Read Article


