
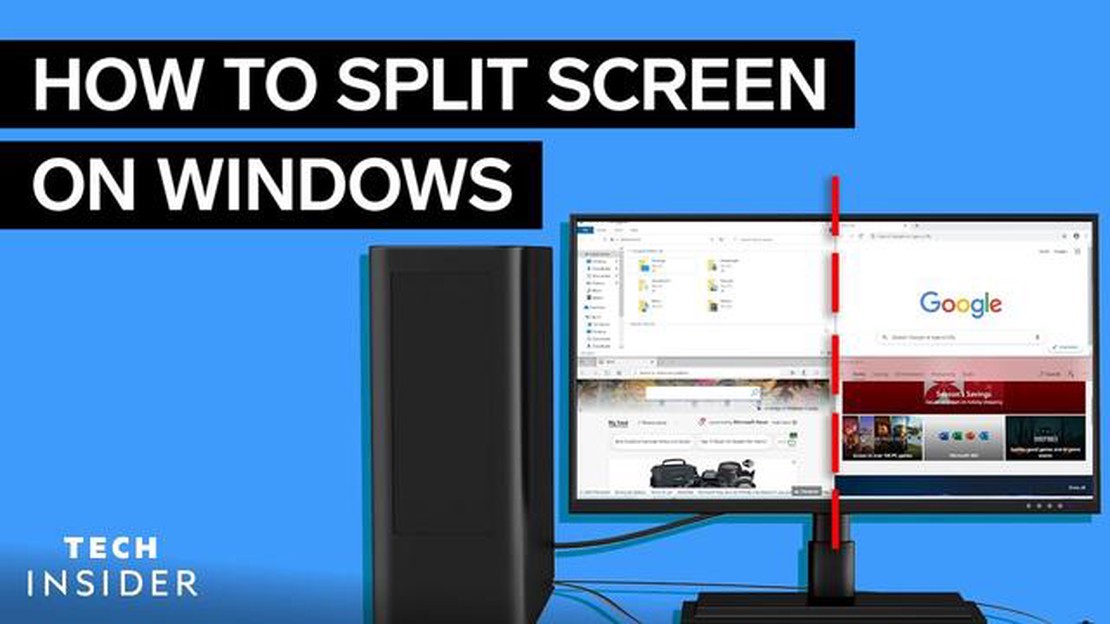

How to Split Your Screen into Two Screens?
How do I split my screen into two screens? Splitting your screen into two screens can be a useful feature if you want to multitask or enhance your …
Read Article
Are you tired of experiencing lag and slow internet connections while playing games on your PS4? Enabling a proxy server can help improve your gaming experience by bypassing certain restrictions and speeding up your connection. In this step-by-step guide, we will walk you through the process of enabling a proxy server on your PS4, whether you’re a beginner or an experienced gamer.
First, let’s understand what a proxy server is. A proxy server acts as an intermediary between your PS4 and the internet. It reroutes your internet traffic through a separate server, which can help improve performance, provide additional security, and enable you to access geo-restricted content. By enabling a proxy server on your PS4, you can potentially reduce lag, speed up downloads, and even access games and content that are not available in your region.
Now that you know the benefits of using a proxy server on your PS4, let’s dive into the steps you need to follow to enable one. Before you begin, make sure you have a reliable proxy server address and port number that you can use. You can find this information by searching online or contacting your proxy service provider. Once you have the necessary details, follow these steps:
Once you have completed these steps, your PS4 will be connected to the internet using the proxy server. You should now experience improved performance while gaming and may even be able to access geo-restricted content. Remember to choose a reliable proxy server with a fast connection speed to get the best results. Happy gaming!
Enabling a proxy server on your PS4 can provide several benefits, such as enhancing your gaming experience, improving network performance, and ensuring better privacy and security. If you’re wondering how to enable a proxy server on your PS4, follow these step-by-step instructions:
Remember that using a proxy server may affect your network speeds or cause compatibility issues with certain games or services. If you encounter any problems after enabling the proxy server, you can always go back to the network settings and choose “Do Not Use” to disable it.
By following these step-by-step instructions, you can easily enable a proxy server on your PS4 and enjoy the benefits it offers. Whether you’re looking for improved gaming performance or enhanced privacy, configuring a proxy server can be a useful option.
A proxy server can provide several benefits when used on a PS4 gaming console. By redirecting internet traffic through a proxy server, users can enjoy improved privacy, security, and access to region-restricted content.
One of the main advantages of using a proxy server is enhanced privacy. When connecting to online gaming servers or browsing the internet, the proxy server acts as an intermediary between the PS4 and the website or game server. This means that the IP address and other identifying information of the PS4 are masked, providing a layer of anonymity and preventing direct access to the console.
In terms of security, a proxy server can help protect the PS4 from potential threats such as DDoS attacks. By routing internet traffic through a proxy server, the server can act as a firewall, filtering out malicious traffic and preventing it from reaching the PS4. This can help keep personal information and gaming accounts safe from unauthorized access.
Another benefit of using a proxy server on the PS4 is the ability to access region-restricted content. Some online games or streaming services may be limited to certain countries or regions. By using a proxy server located in the desired region, PS4 users can overcome these restrictions and access content that would otherwise be unavailable to them.
Furthermore, a proxy server can improve internet connection speed and reduce latency. By caching frequently requested data and optimizing network traffic, a proxy server can help reduce the load on the PS4’s internet connection, resulting in faster and more stable online gaming experiences.
In conclusion, utilizing a proxy server on a PS4 can provide a range of benefits including enhanced privacy, improved security, access to region-restricted content, and improved internet connection speed. Whether for gaming or general web browsing purposes, a proxy server can be a valuable tool for PS4 users looking to optimize their online experiences.
Configuring the network settings on your PS4 is the first step towards enabling a proxy server. This will allow you to route your internet traffic through a different IP address, which can be useful for a variety of reasons, such as accessing geographically restricted content or improving network performance.
To begin, turn on your PS4 and navigate to the main menu. From there, go to the “Settings” tab and select “Network”.
Within the Network settings, choose the option for “Set Up Internet Connection”. You will then be presented with a few different connection options.
Select the “Use Wi-Fi” or “Use LAN Cable” option, depending on how your PS4 is connected to the internet. If you are using Wi-Fi, you will need to select your network from the list of available options and enter the password if prompted.
If you are using a LAN cable, simply connect one end to your PS4 and the other end to your router or modem.
After selecting your connection method, choose “Custom” when prompted to select the type of network connection.
Read Also: Is Split-Screen Available in Call of Duty Modern Warfare?
In the next screen, you will need to select the IP address setting. Choose “Manual” to manually configure the network settings.
Enter the IP address, subnet mask, default gateway, and DNS settings provided by your proxy server provider. These details can usually be found in the proxy server settings provided by the service. Make sure to double-check the information for accuracy.
Read Also: Is Kingdom Hearts 1.5 the Same as 1?
Once you have entered the necessary network settings, proceed to the next screen and select “Automatic” for the MTU settings.
Finally, choose “Do Not Use” for the proxy server option. This will ensure that the PS4 does not use a proxy server for its internet connection.
After saving the settings, a connection test will be performed to check if the network settings have been configured correctly. If the test is successful, you can proceed to the next step in enabling the proxy server on your PS4.
Once you have decided to enable a proxy server on your PS4, the next step is to find and set up a suitable proxy server. A proxy server acts as an intermediary between your device and the internet, allowing you to hide your IP address and enhance your online privacy.
To find a proxy server, you can start by searching online for a reliable and trusted proxy provider. There are several websites and services that offer free or paid proxy servers. It is essential to choose a reputable provider to ensure the security and reliability of the server.
After finding a suitable proxy server, you will need to set it up on your PS4. To do this, go to the PS4 home screen and navigate to the “Settings” menu. From there, select “Network” and then choose “Set Up Internet Connection.”
In the setup process, you will be prompted to choose between Wi-Fi or LAN connection. Select the appropriate option based on your network setup. Next, choose “Custom” to manually configure the network settings.
Once you reach the “Proxy Server” section, select “Use” and enter the IP address and port number provided by your proxy server provider. Additionally, you may need to provide a username and password if required by the proxy server.
After entering the necessary information, proceed with the network setup process and save the settings. Your PS4 will now be configured to use the proxy server for all internet connections.
It is important to note that the use of a proxy server may slightly affect your internet speed, as it introduces an additional layer of communication between your device and the internet. However, the benefits of enhanced privacy and access to region-restricted content often outweigh the minimal impact on speed.
After configuring the proxy server on your PS4, it’s important to test and verify the connection to ensure that it’s working correctly. Here are the steps to test and verify the proxy server connection on your PS4:
During the testing process, the PS4 will attempt to connect to the internet using the configured proxy server. If the connection is successful, you’ll see “Internet Connection: Successful” on the screen. If not, make sure that you have entered the correct proxy server IP address and try the test again.
Testing and verifying the proxy server connection is crucial to ensure that your PS4 is properly connected to the internet and can access online features and services. By following these steps, you can easily set up and test the proxy server connection on your PS4.
A proxy server is an intermediary server that acts as a gateway between your device and the internet. It helps to improve your online privacy, security, and can also provide access to geo-restricted content.
Enabling a proxy server on your PS4 can be useful for a few reasons. Firstly, it can help to improve your online privacy and security while gaming. Secondly, it can allow you to access geo-restricted content by masking your IP address with that of the proxy server. Lastly, it can also help to reduce lag and improve connection stability.
To enable a proxy server on your PS4, you need to go to the network settings on your console. From there, select “Set Up Internet Connection” and choose either Wi-Fi or LAN, depending on your connection type. Then, select “Custom” and when prompted, choose “Enter Manually” for IP Address settings. Next, enter the IP address and port number provided by your proxy service provider. Once done, proceed with the rest of the setup and test the connection to ensure it’s working.
No, not all proxy servers are compatible with the PS4. You need to make sure that the proxy server you choose specifically supports gaming consoles. Additionally, it’s important to choose a reliable and trustworthy proxy service provider to ensure a stable and secure connection.
While using a proxy server on your PS4 can have its benefits, there are also some potential disadvantages. Firstly, it may slightly increase latency, leading to a slower gaming experience. Secondly, if the proxy server is not reliable or secure, it could potentially expose your personal information. Lastly, using a proxy server may also restrict your access to certain websites or online services that have stricter security measures in place.
How do I split my screen into two screens? Splitting your screen into two screens can be a useful feature if you want to multitask or enhance your …
Read Article
How do I find someone’s home address? When it comes to finding someone’s home address, there are several methods you can use. Whether you’re trying to …
Read Article
Can you play Roblox on any laptop? Roblox is a popular online gaming platform that allows users to create and play games. With a wide range of games …
Read Article
Why is monster bad for you? Monster Energy drinks have become increasingly popular in recent years, especially among gamers and young adults. However, …
Read Article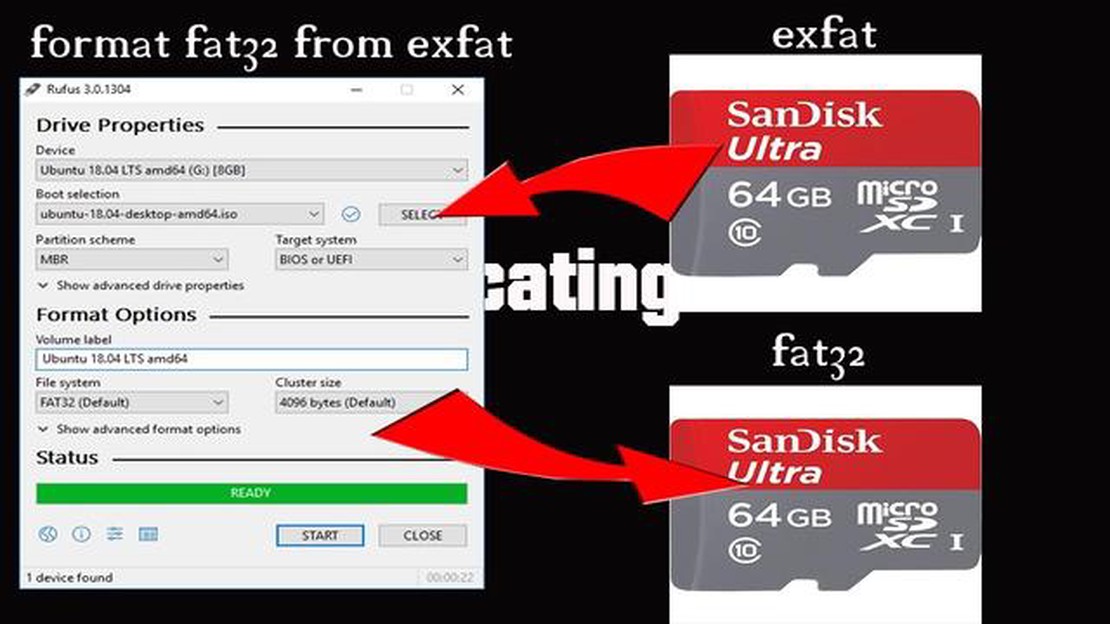
How do I format my SD card from exFAT to FAT32? If you’re a gaming enthusiast or just someone who values data storage, you’ve probably come across the …
Read Article
How do I use the PVR function? If you own a gaming console, chances are it comes with a built-in PVR (Personal Video Recorder) function. This powerful …
Read Article


